Char-Broil 10201599 Instruction Manual
Browse online or download Instruction Manual for Barbecues & grills Char-Broil 10201599. Char-Broil 10201599 Instruction manual User Manual
- Page / 24
- Table of contents
- BOOKMARKS
Summary of Contents
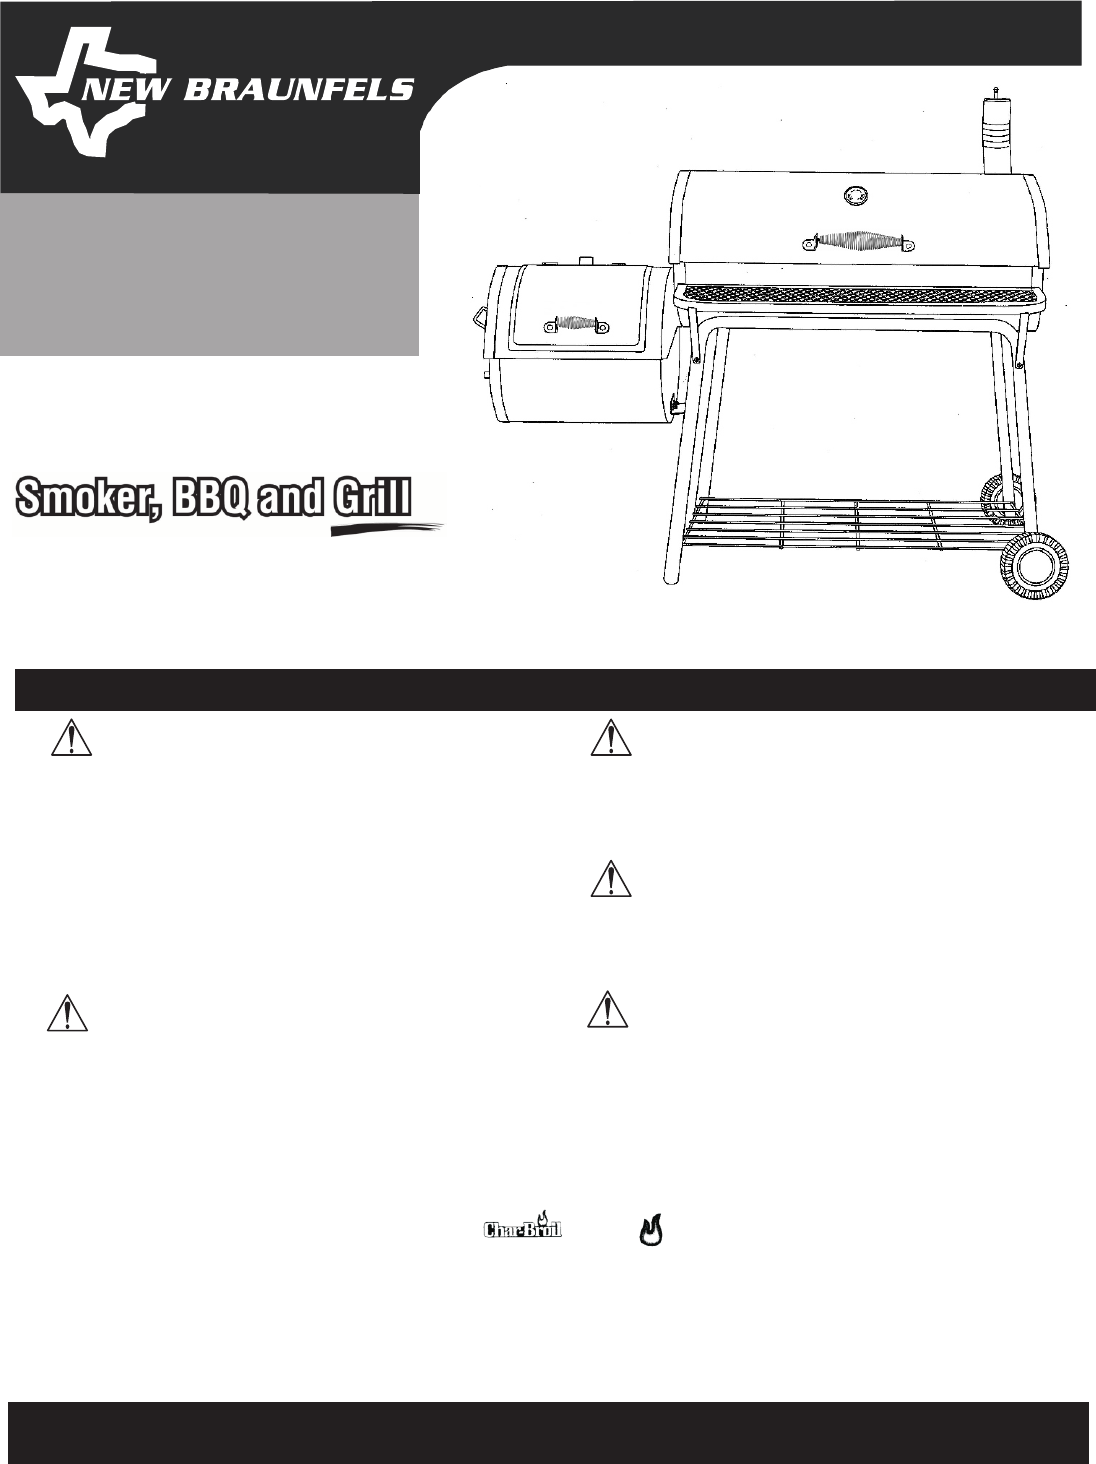
Model 10201599Tools needed for assembly:Phillips & Flat Head ScrewdriverAdjustable wrenchPliersFOR OUTDOOR USE ONLYCAUTION:Read and follow all saf
5610Install firebox support bracket (item #8) onto the holes on the left legs using two M6 x 15mm Phillips head bolts. Do not tighten bolts until Step
8711Attach front shelf (item #10) to front of grill base using two M6 x 15mm Phillips head bolts. Attach table supports (item #11) with slotted holes
10912Attach smaller handle (item #26) to the firebox lid using two M5 x 12mm Phillips head bolts and M5 hex nuts.Attach firebox lid stop (item #24) us
111213Attach air shutter (item #31) onto the firebox door (item #30) using one M6 x 15mm Phillips head bolt and M6 hex nut. Do not over-tighten air s
Connect firebox lid (item #25) and firebox base (item #34) using six M6 x 15mm Phillips head bolts.141314Connect firebox and grill base (item #9) toge
1516Connect firebox support (item #8) with firebox base (item #34) using two M6 x 15mm Phillips head bolts and M6 hex nuts.Install smokestack bracket
1718Install smokestack (item #19) onto the smokestack bracket (item #18).To install the temperature gauge (item #22), insert into center hole on grill
1920Attach grill lid handle (item #23) using two M6 x 15mm Phillips head bolts and M6 hex nuts.Install grill lid (item #17) on grill base (item #9) us
2122Attach the charcoal tray (item #12) to charcoal grate (item #13) by hooking tray edges onto the grate frame.Use charcoal grate adjusters (item #14
2324Install the warming rack (item #16) inside the grill lid (item #17). Insert the cotter pins through the holes from the outside of grill lid (item
DANGERSafety SymbolsThe symbols and boxes shown below explain what each heading means. Read and follow all of the messages found throughout the manual
2526Place firebox charcoal grate (item #32) inside the bottom of firebox.Place firebox cooking grills (item #28) inside the top of the firebox base (i
2728Insert grease cup holder (item #35) into holes on right leg brace (item #7).Place a tin can (not included) on the grease cup holder. A tin can mu
THIS PAGE INTENTIONALLY BLANK22
24REGTEMP REV00
1.Brush all interior surfaces including grills and grates with vegetable cooking oil.2. Build a small fire on the fire grate, being sure not to lay co
THE HEAT OF THE COALSseconds you can hold the palm of your hand 4 inches above the coals temperature range (Fº) visual cuesHOT COALS 2 400 to 450 bare
GRILL MAINTENANCEFrequency of cleanup is determined by how much your smoker is used. Make sure coals are completely extinguished before cleaning insi
LIMITED WARRANTY6SCOPE OF COVERAGE PERIOD OF COVERAGE TYPE OF FAILURE COVERAGEPERFORATION, MANUFACTURING,AND MATERIAL DEFECTS ONLYAll Parts90 days fro
PARTS LIST71 1 Right Legs2 1 Left Legs3 1Shelf4 1Axle5 2Wheel6 2Wheel Cap7 2Leg Brace8 1Firebox Support9 1Grill Base10 1Front Shelf11 2Front Table Sup
21ASSEMBLY8FIRST, GET A HELPER! This unit is heavy and requires a second person for lifting and moving. NEXT, pick a suitable location to work. Open t
349Install leg braces (item #7), with support flange towards center of grill, onto the legs using eight M6 x 15mm Phillips head bolts. Do not fully ti
Related products and manuals for Barbecues & grills Char-Broil 10201599
 (28 pages)
 (28 pages)
 (28 pages)
© 2020, manymanuals.com. All rights reserved. | 0.080 s |
 Manymanuals.com
 Manymanuals.de
 Manymanuals.fr
 Manymanuals.it
 Manymanuals.pl
 Manymanuals.cz
 Manymanuals.es
 Manymanuals-pt.com
Comments to this Manuals